Heightmap Blending
where each channel tells where a certain texture should be visible.
Another way of controlling the visibility of textures is by using the vertex colors.
This is very cheap, but result in a lower quality blending if the mesh or terrain has a limited amount of vertices.
In the sections below you will learn other types of blending to achieve a high quality of blending with a generally cheap performance cost.

Default Blending
The first way of blending is using the basic lerp function, also called linear interpolation.
The function requires 3 inputs, value A, value b and value t where a and b are both colors and t is the value that controls the blending.
For example, if the value of t is 0, then the result will be a. When t=1 then you will get b as the result.
All other values for t that lie between 0 and 1, will be interpolated accordingly.

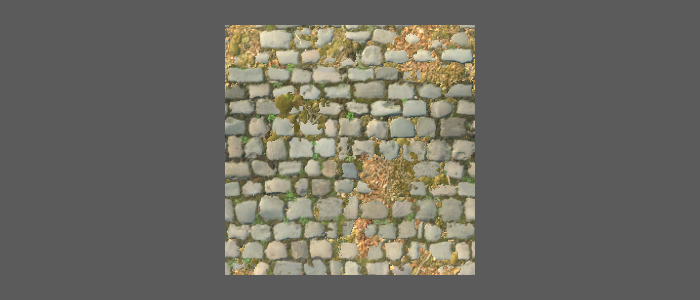
You can see that the result does not look very good to the point it looks even unrealistic.
Height Based Blending
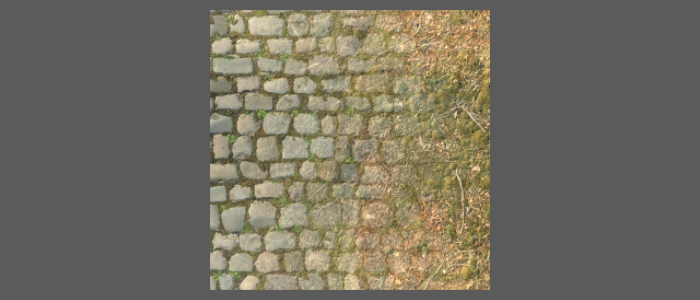
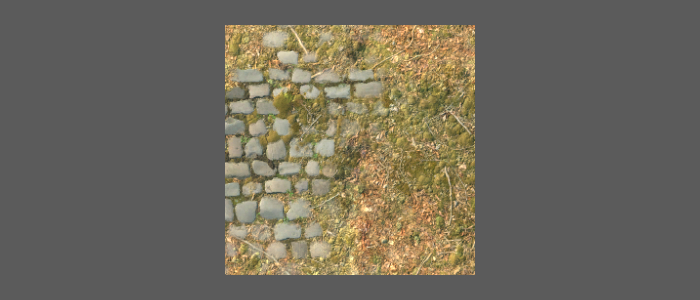
Let’s now look at a different type of blending. Instead of blending using a single value, we use the height map of the 2 textures. By comparing those two height maps of each texture and result the one with the higher value.

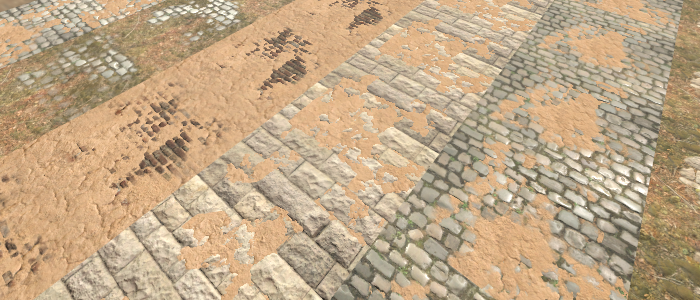
You can see that the ground now blend nicely between the cracks of the cobblestone. But by looking at the code you can see that we use an if statement.
In general those are not bad in shaders if used to compare to a constant, but here we compare two dynamic values (heightA and heightB) so both sides of the if-else statement will end up running.
Another problem with this method is the sharp contrast between the two textures. It would be nice if we could blend smoothly between them.
The linear blending from left to right is also gone so we need to get that back as well.
Advanced Height based blending
Let’s first remove the if statement. If we look at both of the height values, and we know that they are normalized, subtracting them will gives us a hint which texture has a higher value. If the result is > 0 then texture A should be shown, if the result is lower than 0 then texture B should be shown.
By using the step function we can set the result to 1 if it is higher than 0 otherwise we get a 0.
Now let’s reimplement the smooth blending.
Whenever you need a smooth value in a shader the smoothstep function comes in mind. This is the same as the previous step function only giving a smooth value between the upper and lower limit.
In the previous step function we used 0 as lower limit but let’s change that into a variable, this way we can control the blending more freely.
But what should we use as the upper limit? Let’s add a low value to the lower limit and use that result as the upper limit. That low value should be a variable as well so you can control the smoothing itself.
The final step is that the blending from left to right should be back as well. We know that the final result of the subtraction resulted in a value between 0-1, we could multiply that by a mask or other value. In this case I use the red channel of the vertex color.

We now have a nice smooth blend from left to right with the dirt filling up the cracks of the cobblestone.
References
Texture Assets from:
Poly Haven
Get the source files on Github